

Choosing Your Method
To Schmear or not to Schmear? That was my question. There are a lot of ways to do a white fireplace! When I first started planning this project, I couldn’t decide if I wanted to do the German Smear method, or a simple whitewash? I finally made the decision based on the following reasons:
- At the time, we had 1000 other projects going simultaneously
- The German Smear, while probably closer to the look I was envisioning in my head, was a little more labor intensive and messy…so a bigger project
- It’s easy to Smear over a whitewash, but not to come back from a Smear…if I HATED the whitewash I could always Smear over it
So, whitewash it is…or was for about 5 minutes 😉
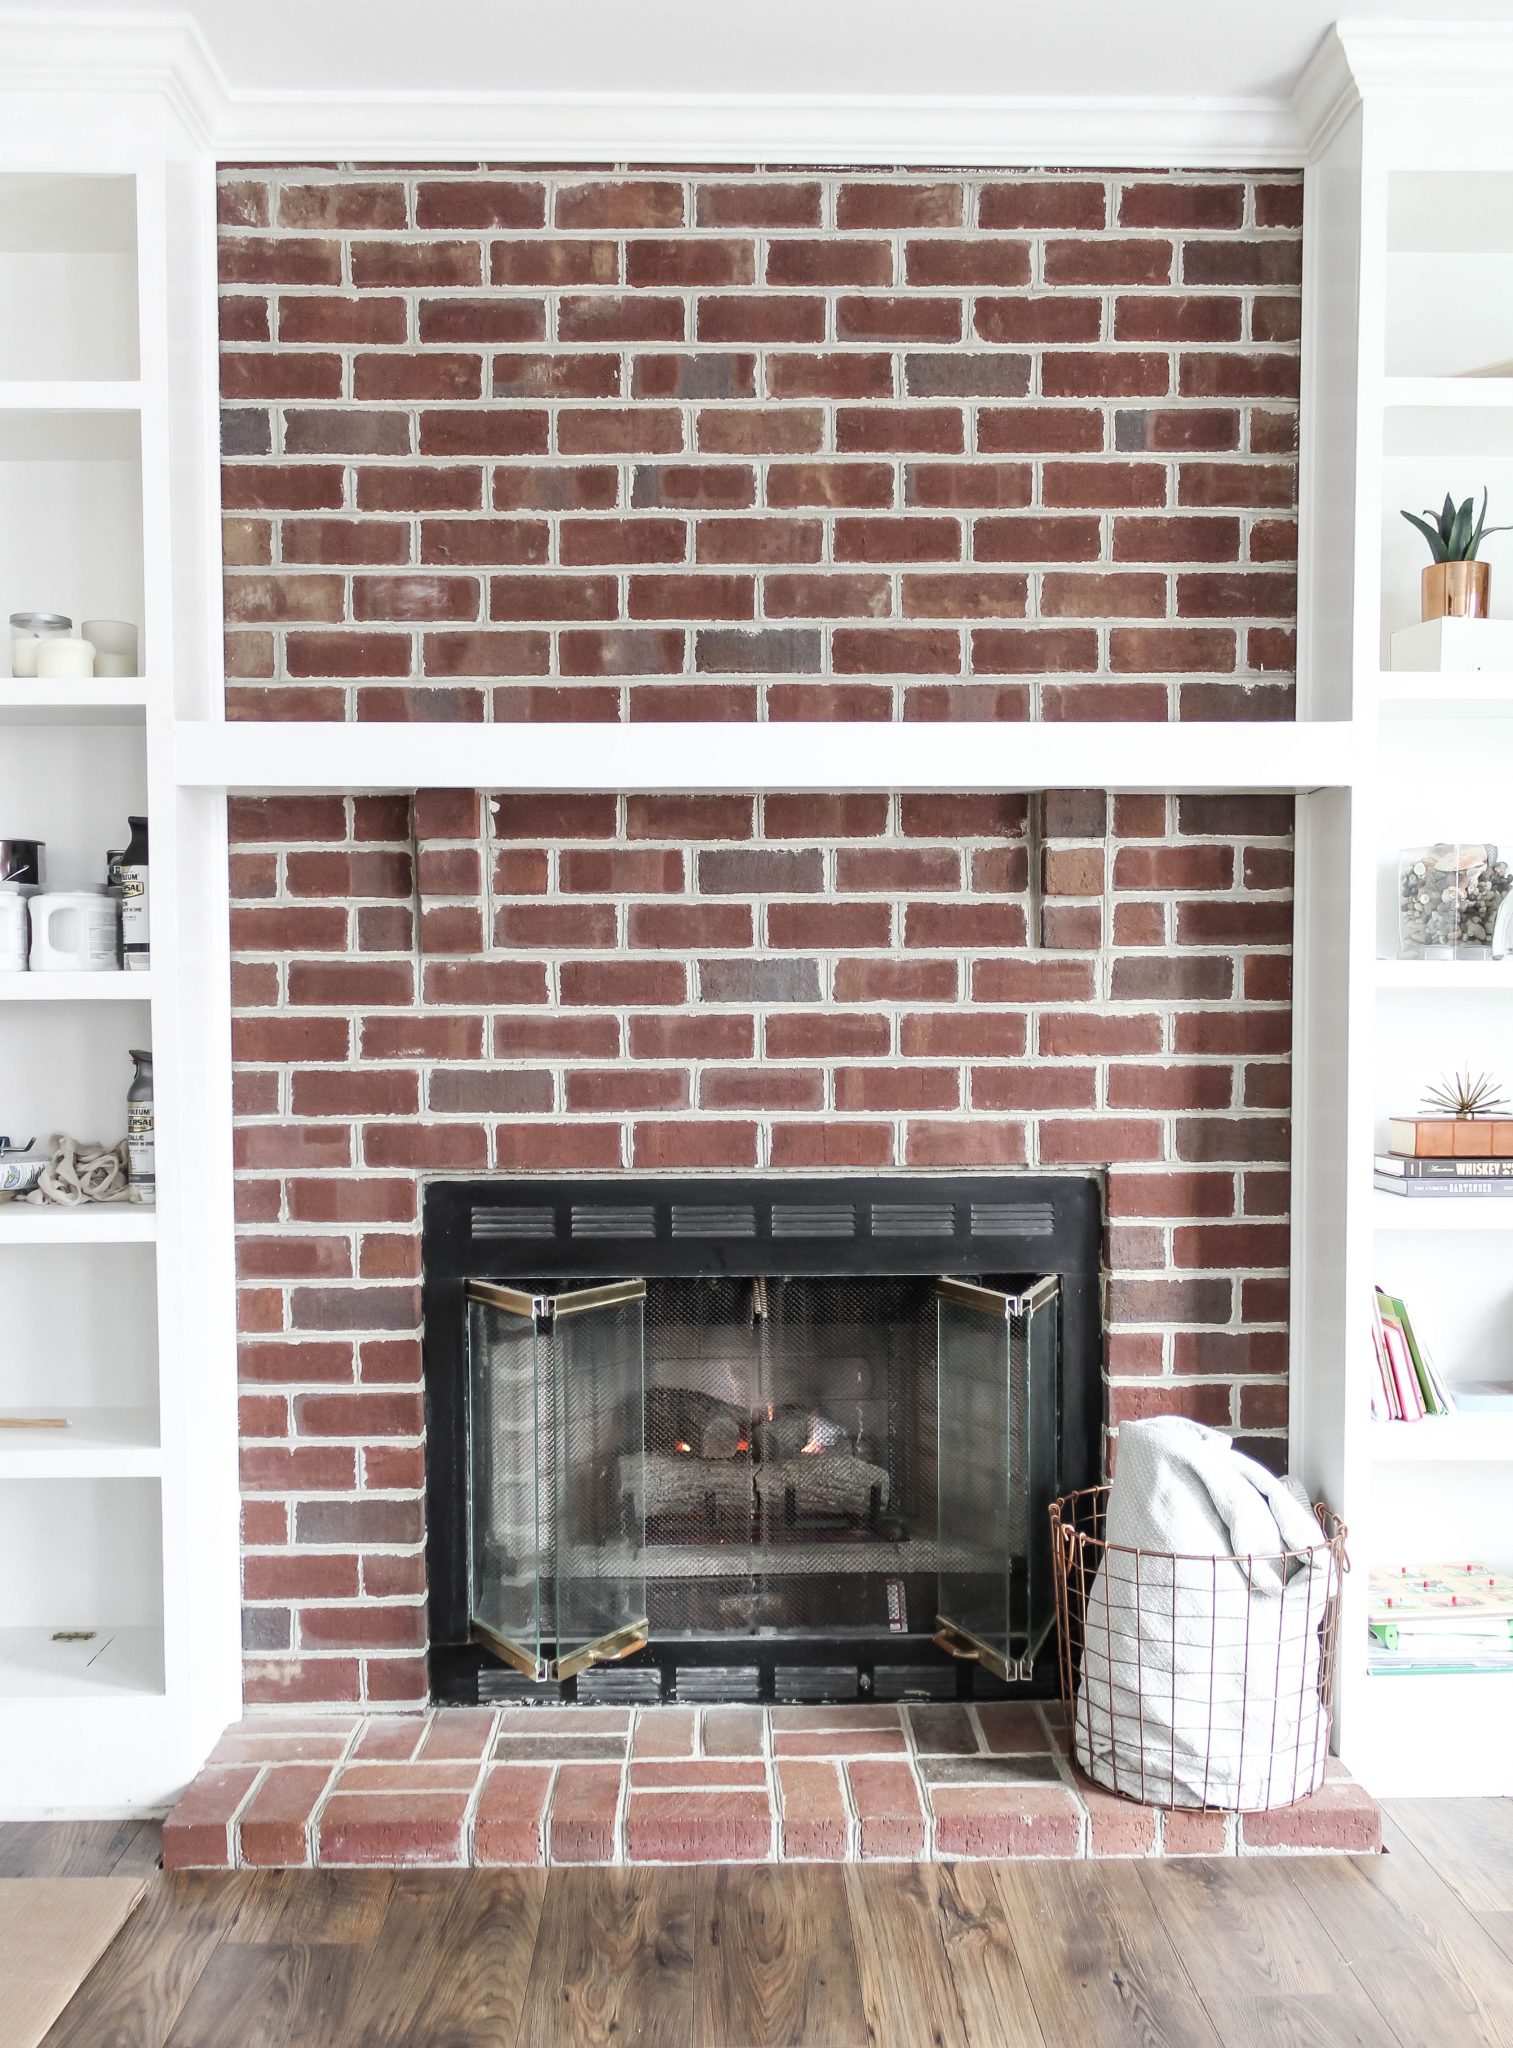
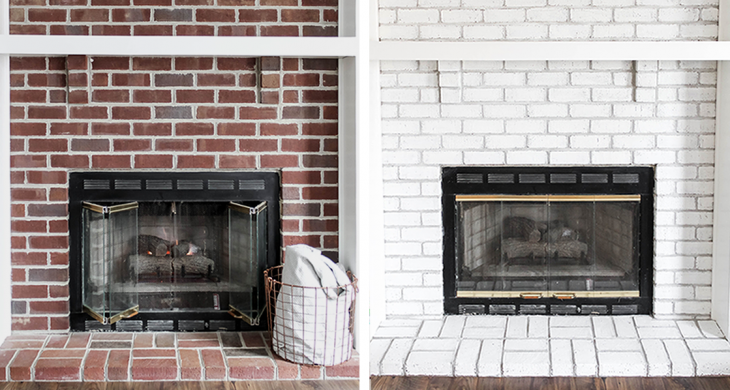
Before: Red Brick Fireplace
Whitewashing Fireplace Brick
01. Cleaning the Brick
First step…clean that brick! I did it in two steps:
- Get a damp, tough rag and give it a good scrub. This will remove some of the dust and grime, but also dislodge any loose brick particles and grout…we had a lot of that! As you can see in some of the photos below where it’s sitting on the mantle
- Vacuum with a brush attachment. This will pull off the remaining particles for you and allow you to paint over it without a bunch of nasty sticking to your brushed/rollers
02. Mix Your Wash
You can play with this part a bit…as you’ll soon see I go full science on it after the first attempt. But most washes are made with a paint/water mix.
I chose to use a white paint that was matched to our trim…which is the same paint that was used for our fireplace built-ins. I started with a 1 to 1 ratio, which is pretty typical and also easy to build on. Again, you don’t want to do things you can’t come back from, you can always add paint.
NOTE: paint should be latex / water based
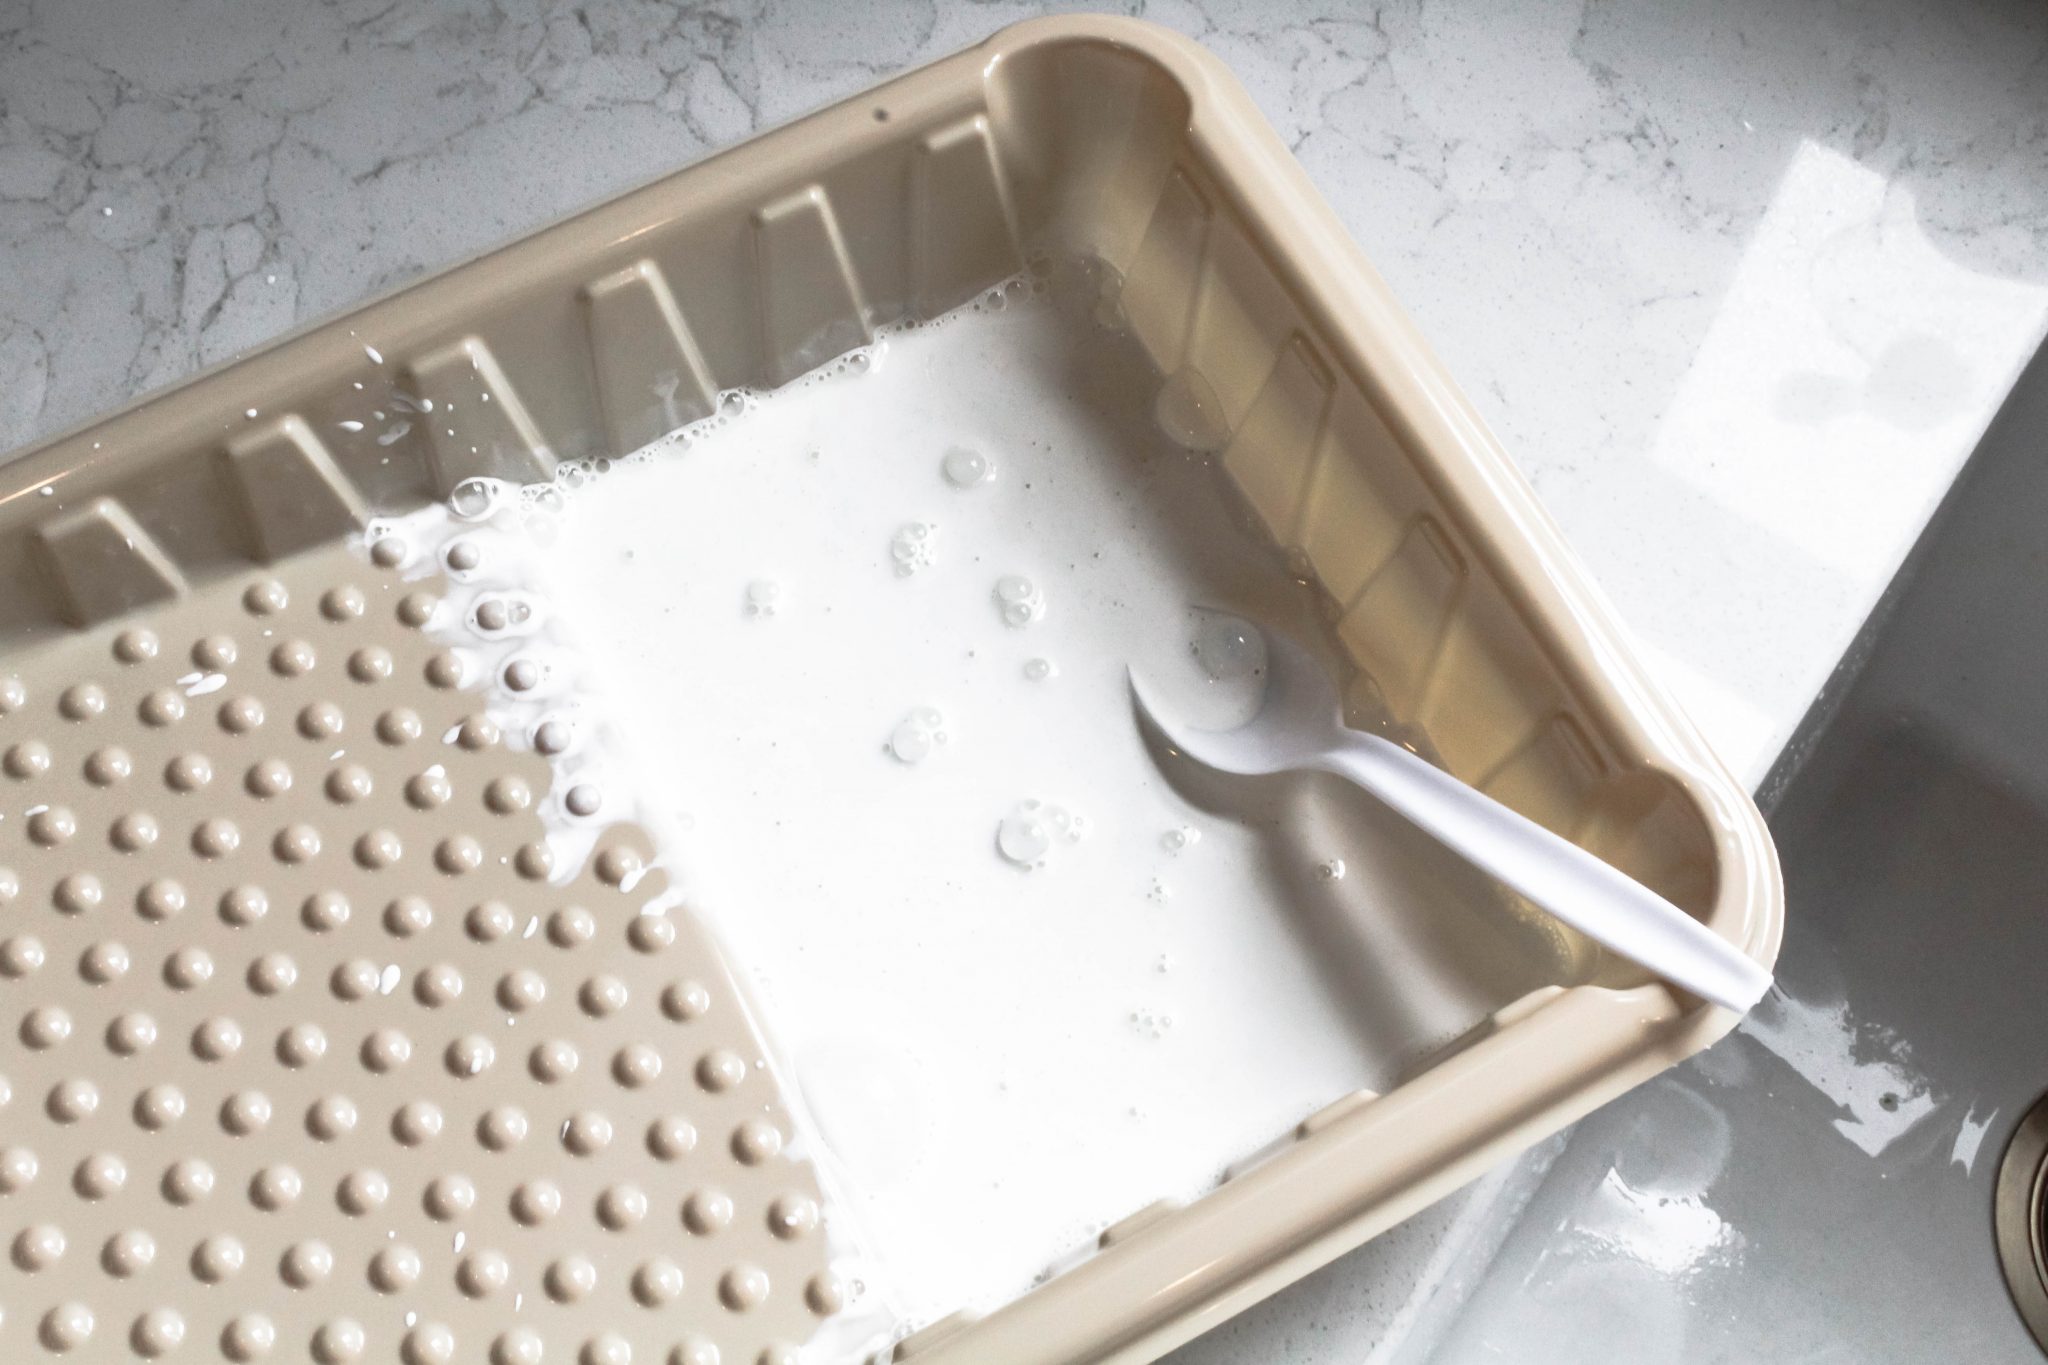
Fireplace whitewash mix: First attempt was 50/50 paint and water.
03. Whitewashing Fireplace Brick and Grout
With my half water, half paint mix, I began by painting the grout lines directly with a brush and then sort of wiping the wash on with a rag.
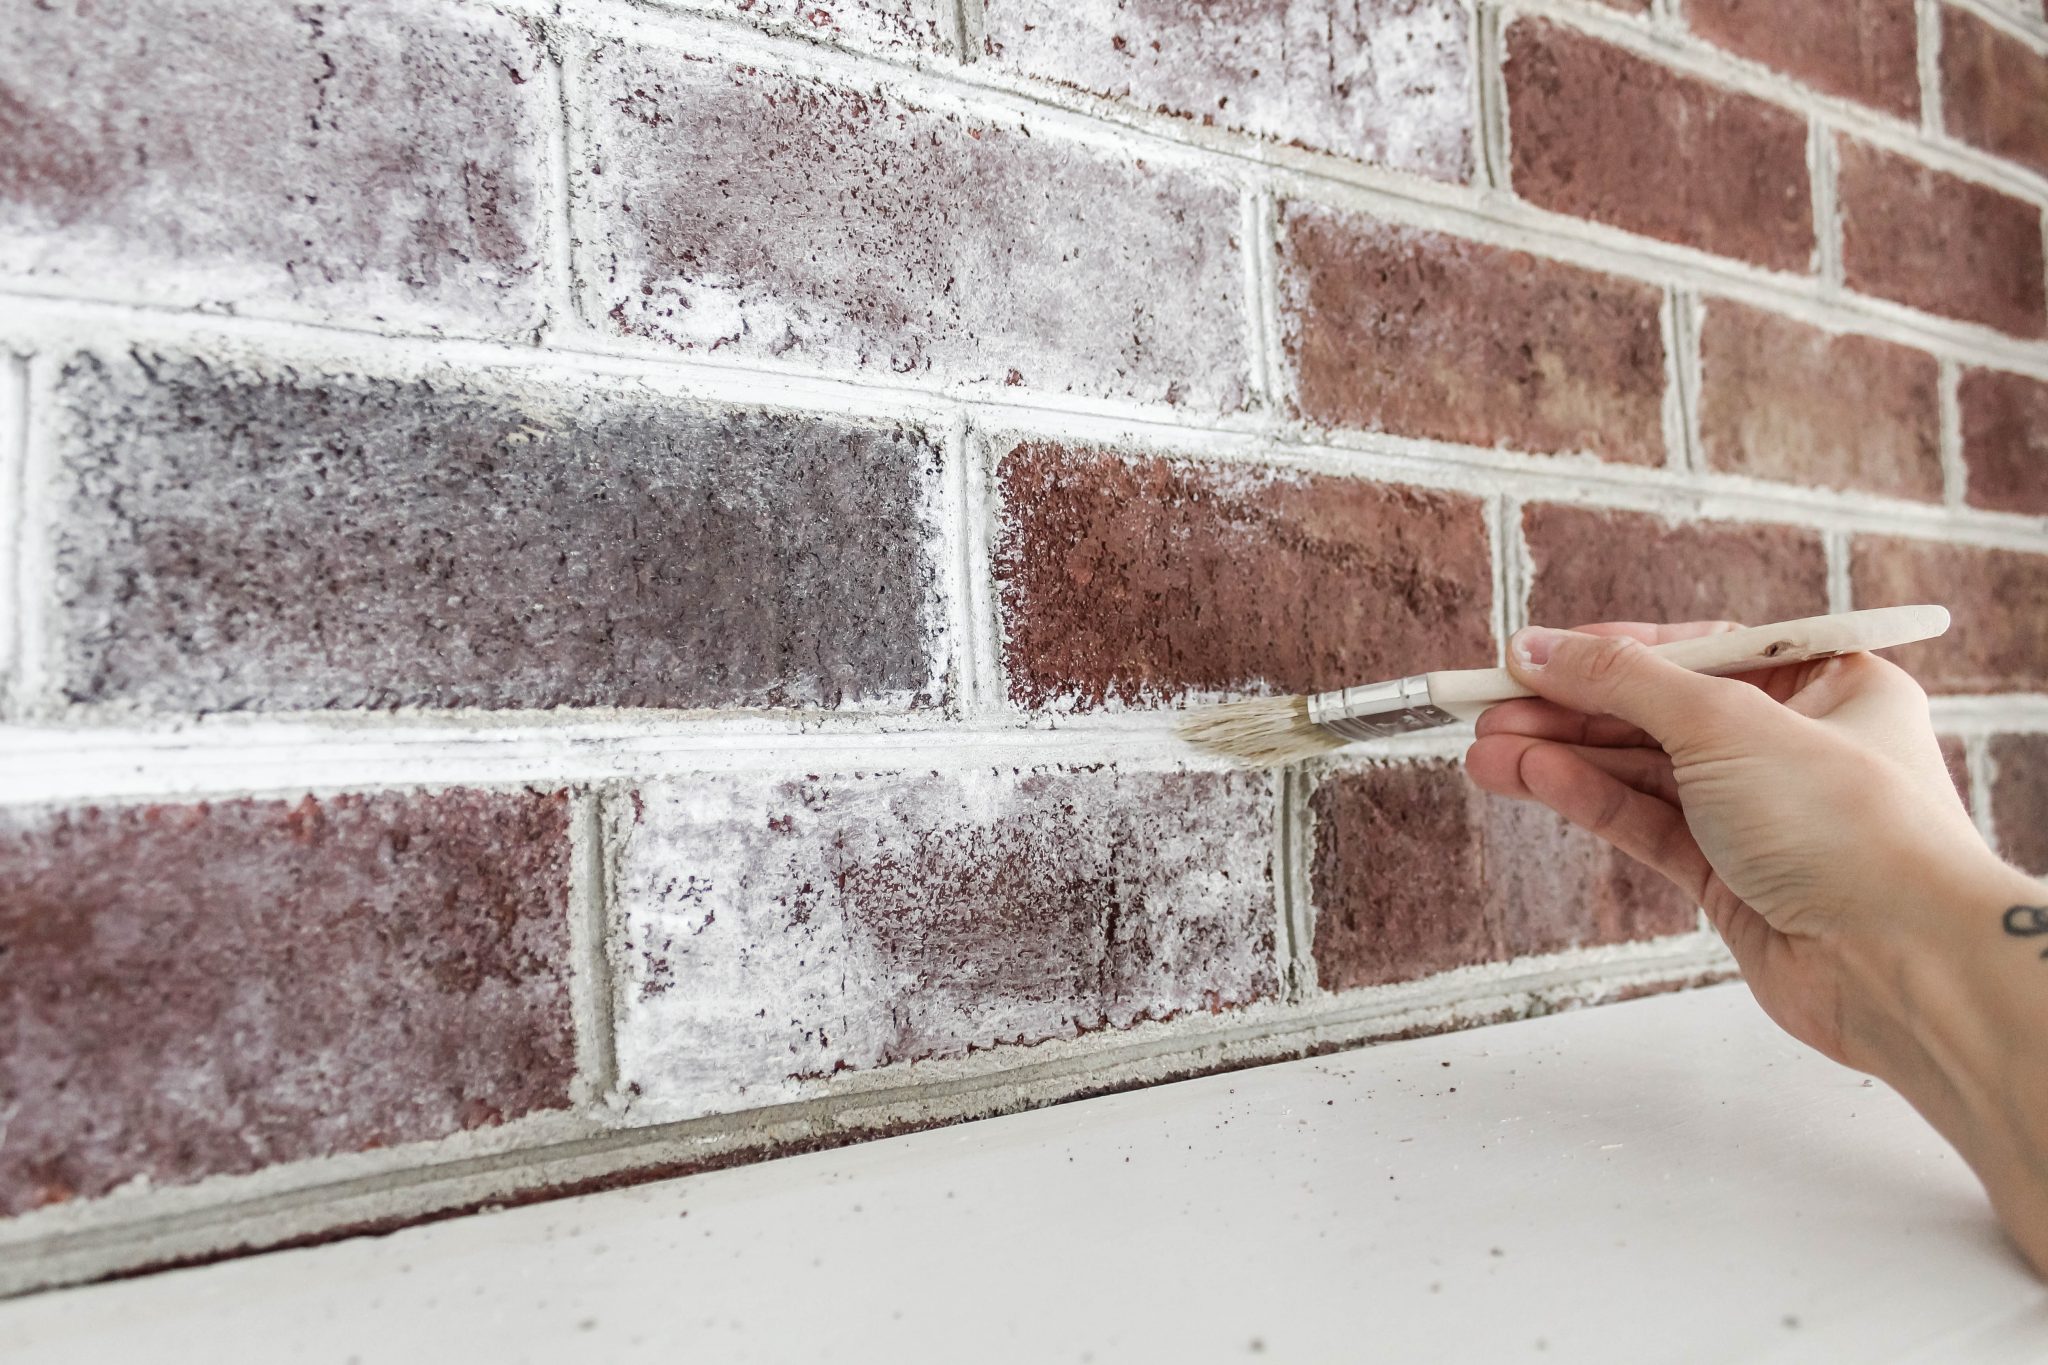
Method: Whitewashing fireplace grout
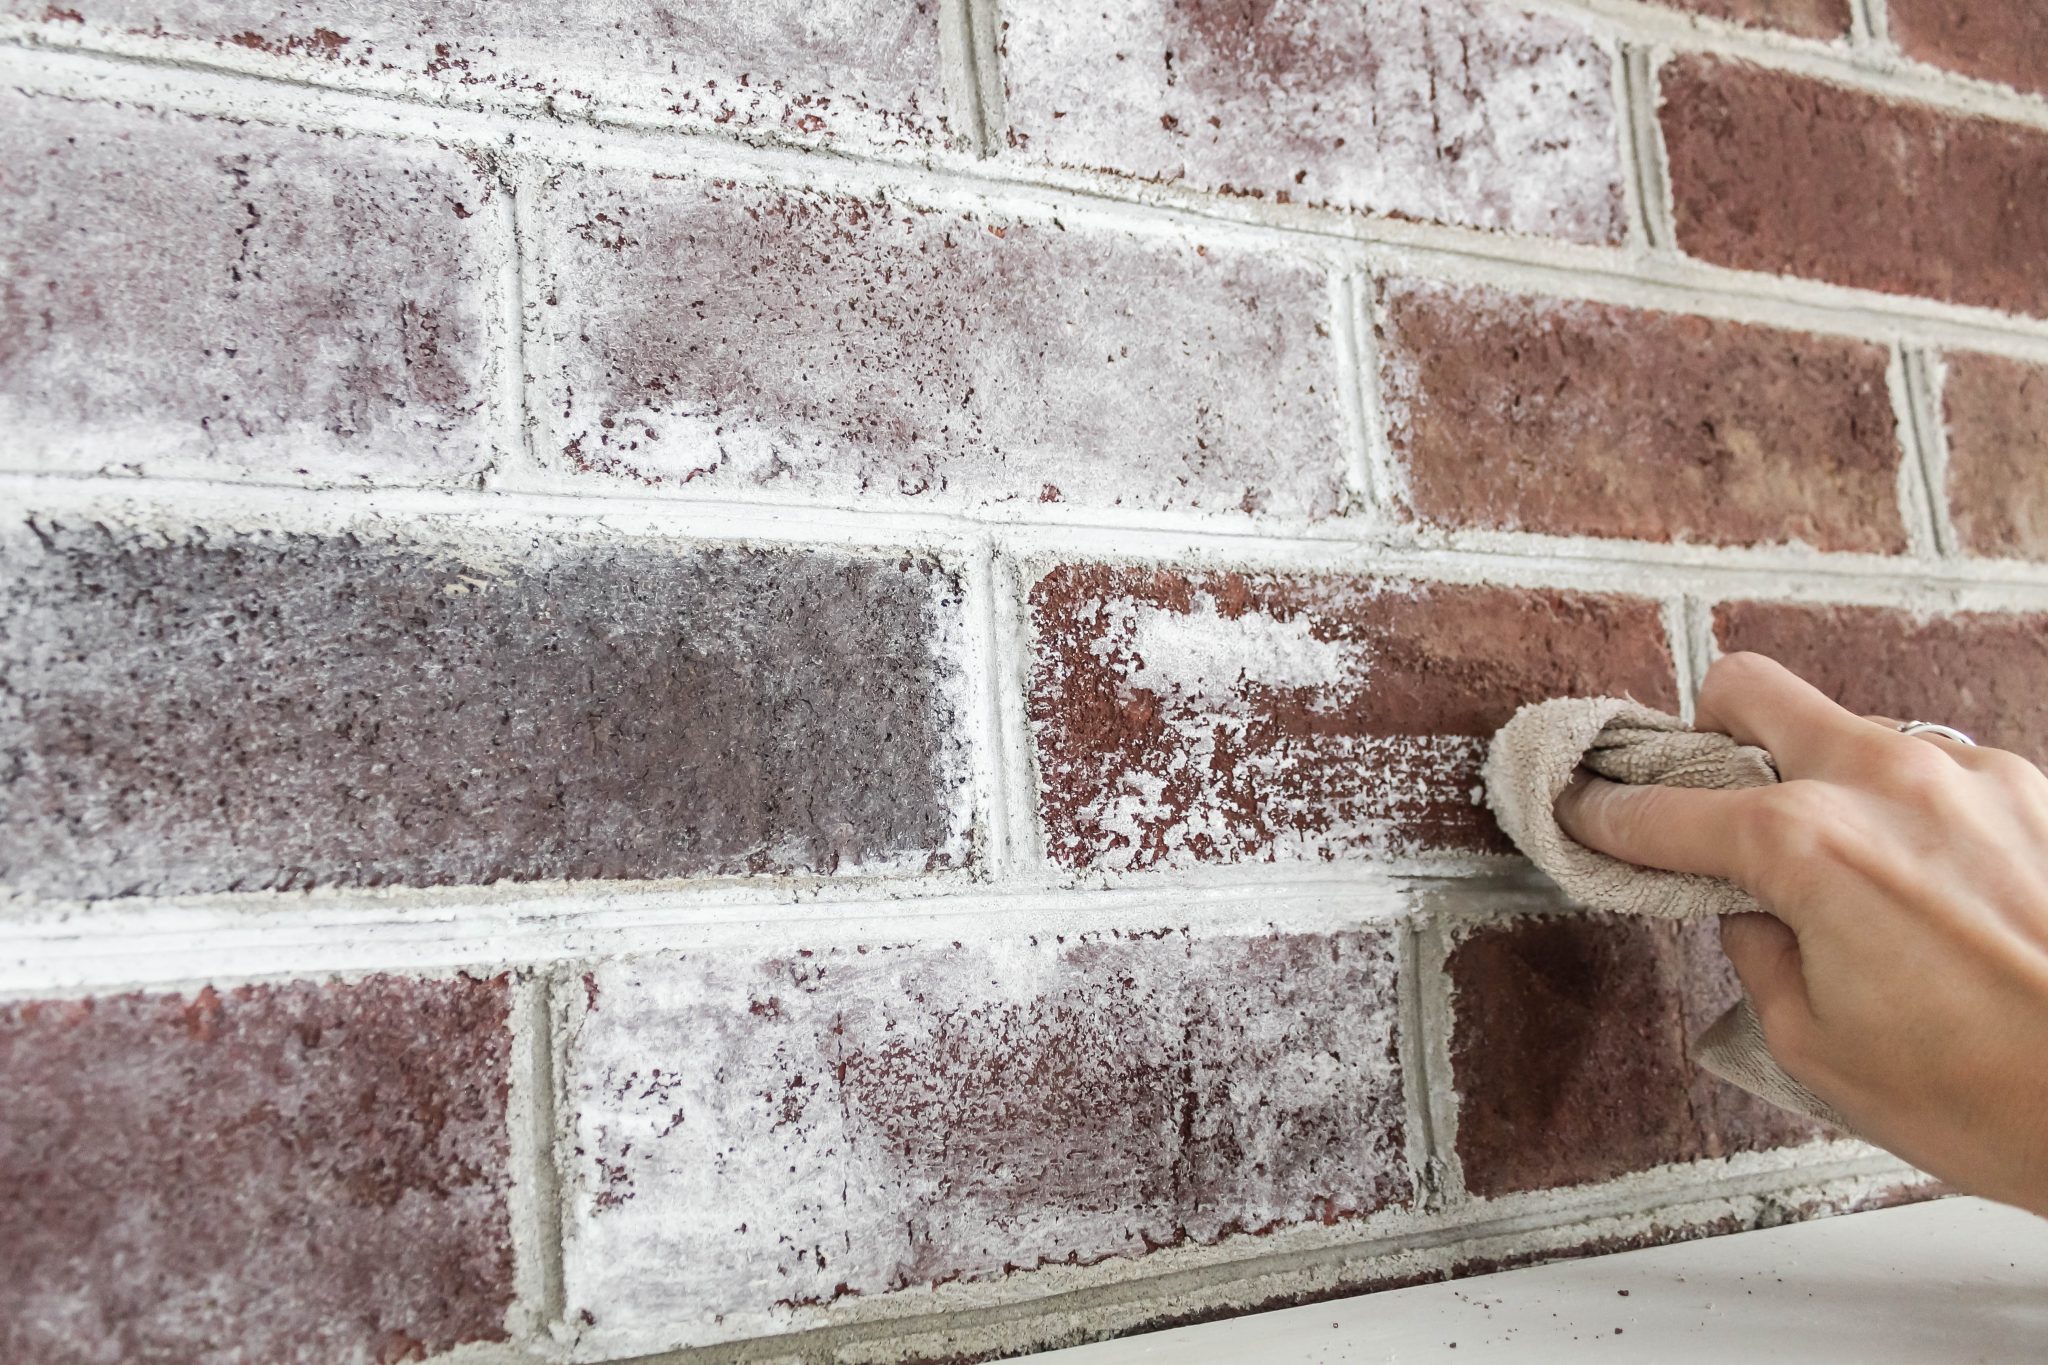
Method: Whitewashing fireplace bricks
After I did a handful of bricks, I stepped back to take it in…yep…I HATE THIS. This is nothing close to what I have pictured in my head. Confession: I kinda knew this was going to be the case? But I wanted to start slow because painting brick is kinda scary the first time you do it. I really didn’t want to ruin something and not be able to fix it.
Don’t take my hatred the wrong way, this whitewash look may be perfect for some of you. But it was a little too country/shabby chic looking for our home and design direction.
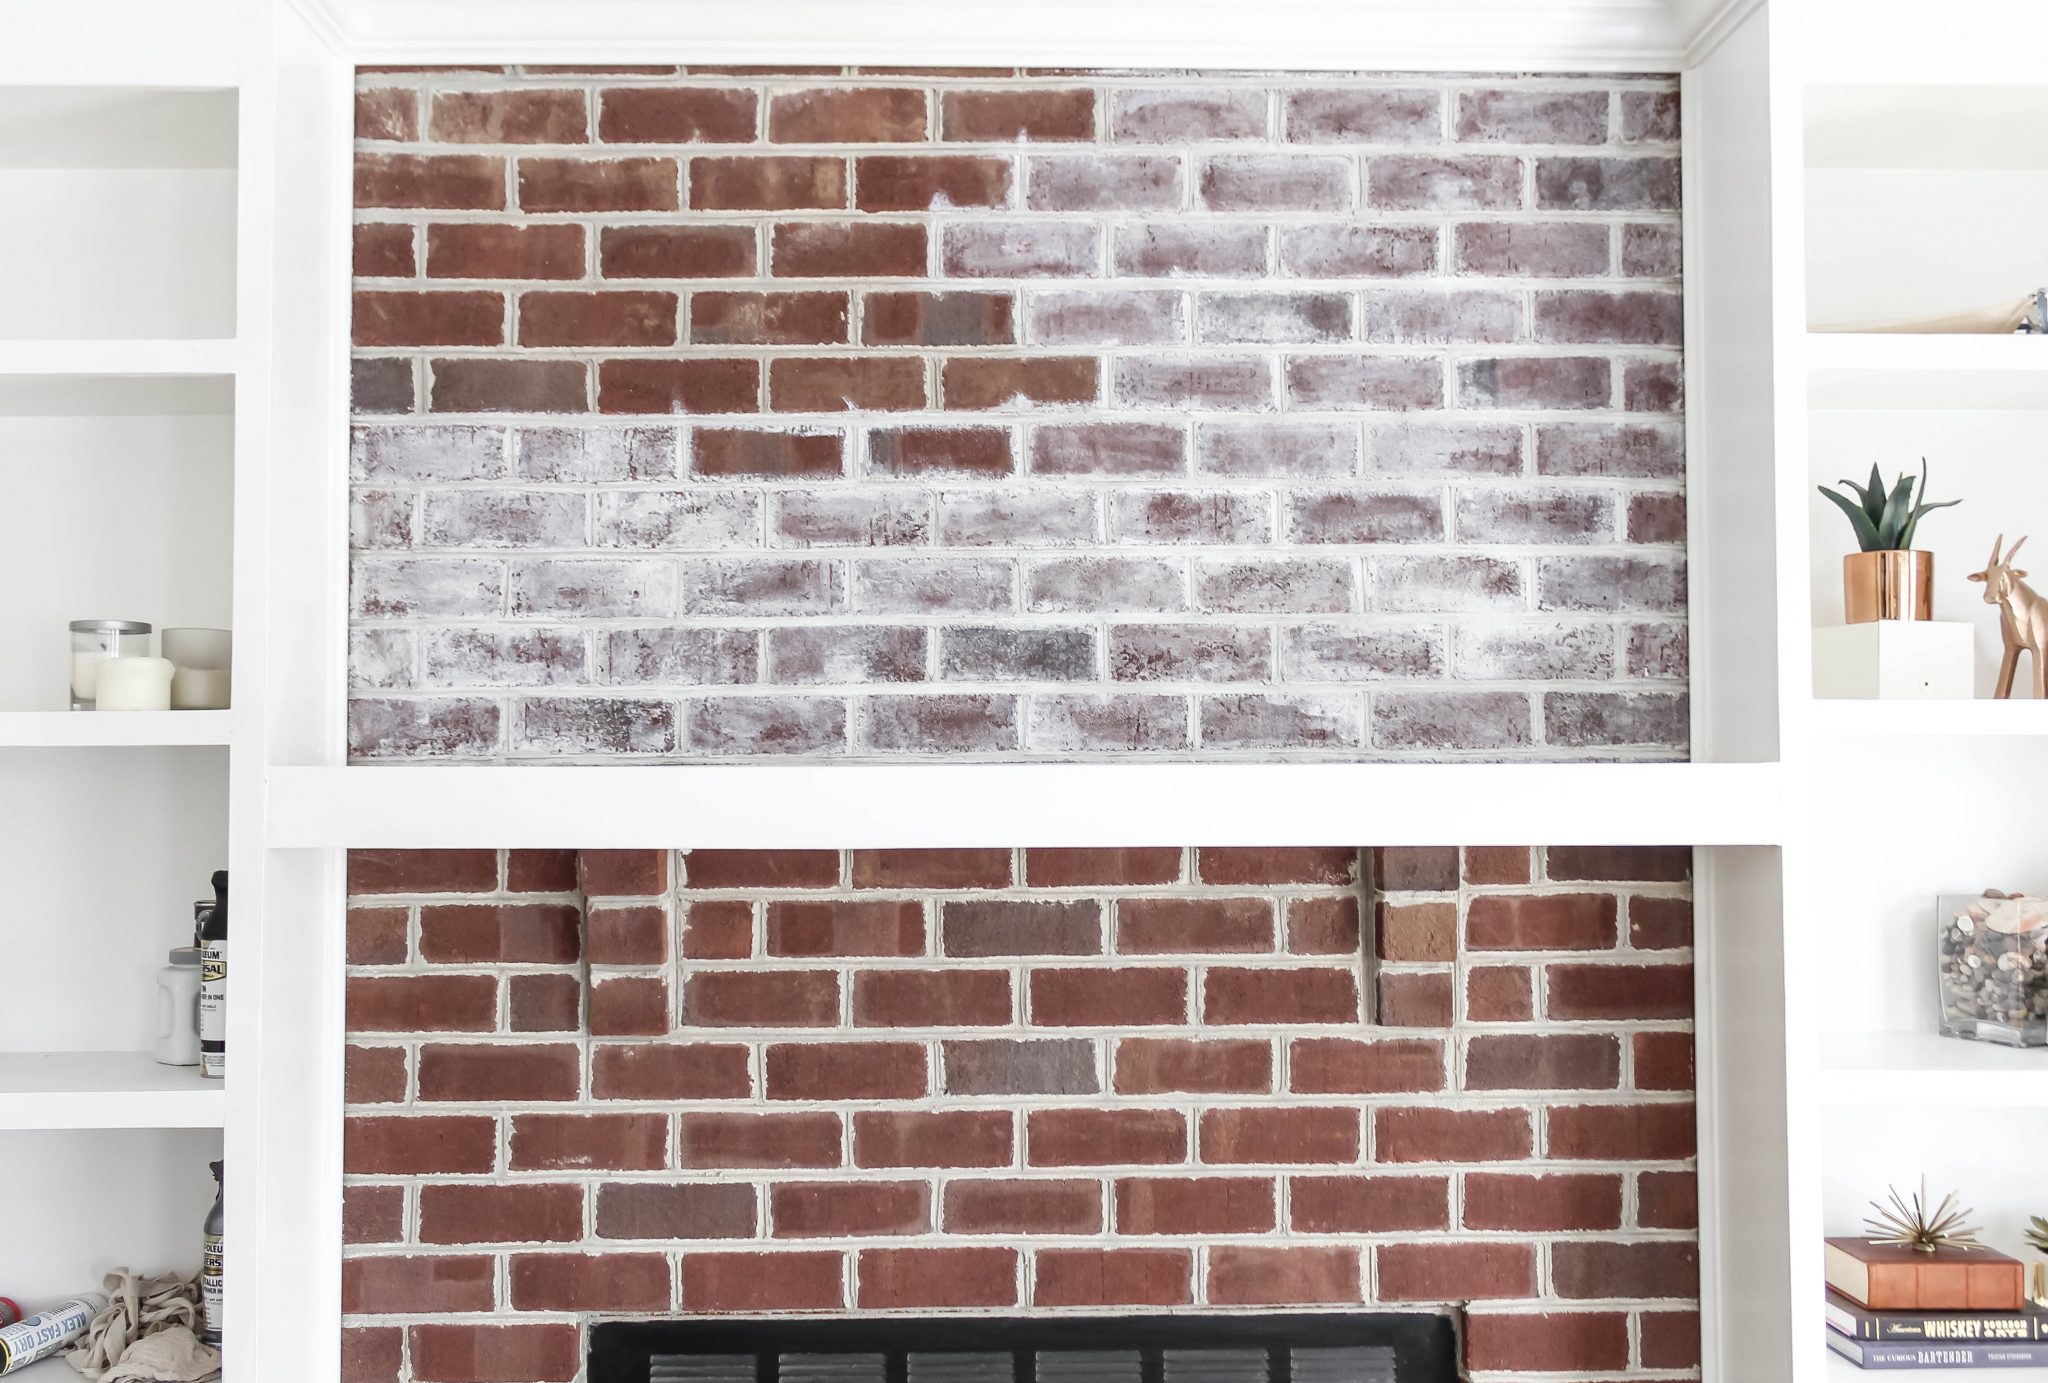
Progress: First round of whitewash…HATE IT.
New Method: Rough Painting Fireplace Brick
My next attempt was to just start playing around and try to get what I could see in my head onto the fireplace. The solution? Rough Painting. I just made that term up…I’m not sure what else to call this, ha. It’s not whitewashing, but it’s not full on painting, and it’s certainly still not a German Smear…but I love it.
NOTE: This is pure paint, no water mixed in.
01. Outlining the Bricks
The best way I could come up with to get the right coverage on the brick edges, was to outline them with a smaller, more precise brush. While this did take some time, it really wasn’t as tedious as it may seem.

Method: Outlining the brick with a defined brush
02. Rough Painting the Brick
Next, I took a cheap ol’ brush and gave the center of the bricks a good swipe or two. Enough to coat the whole face, but not enough to fill in the deeper cracks and imperfections – so, rough 😉

Method: Rough painting the brick face
Now, this is what we start to have. Me likey. This is much more along the lines of what I was envisioning. We had a thick, white painted fireplace at our last home…and while I LOVED it, it was a bit too “clean” looking. That’s one thing I really like about the Smear look, it’s rustic and imperfect…but maybe a little too rustic for the overall direction of this room. “Rough Paint” was a perfect middle ground.
Progress: Rough painted bricks vs. whitewashed bricks
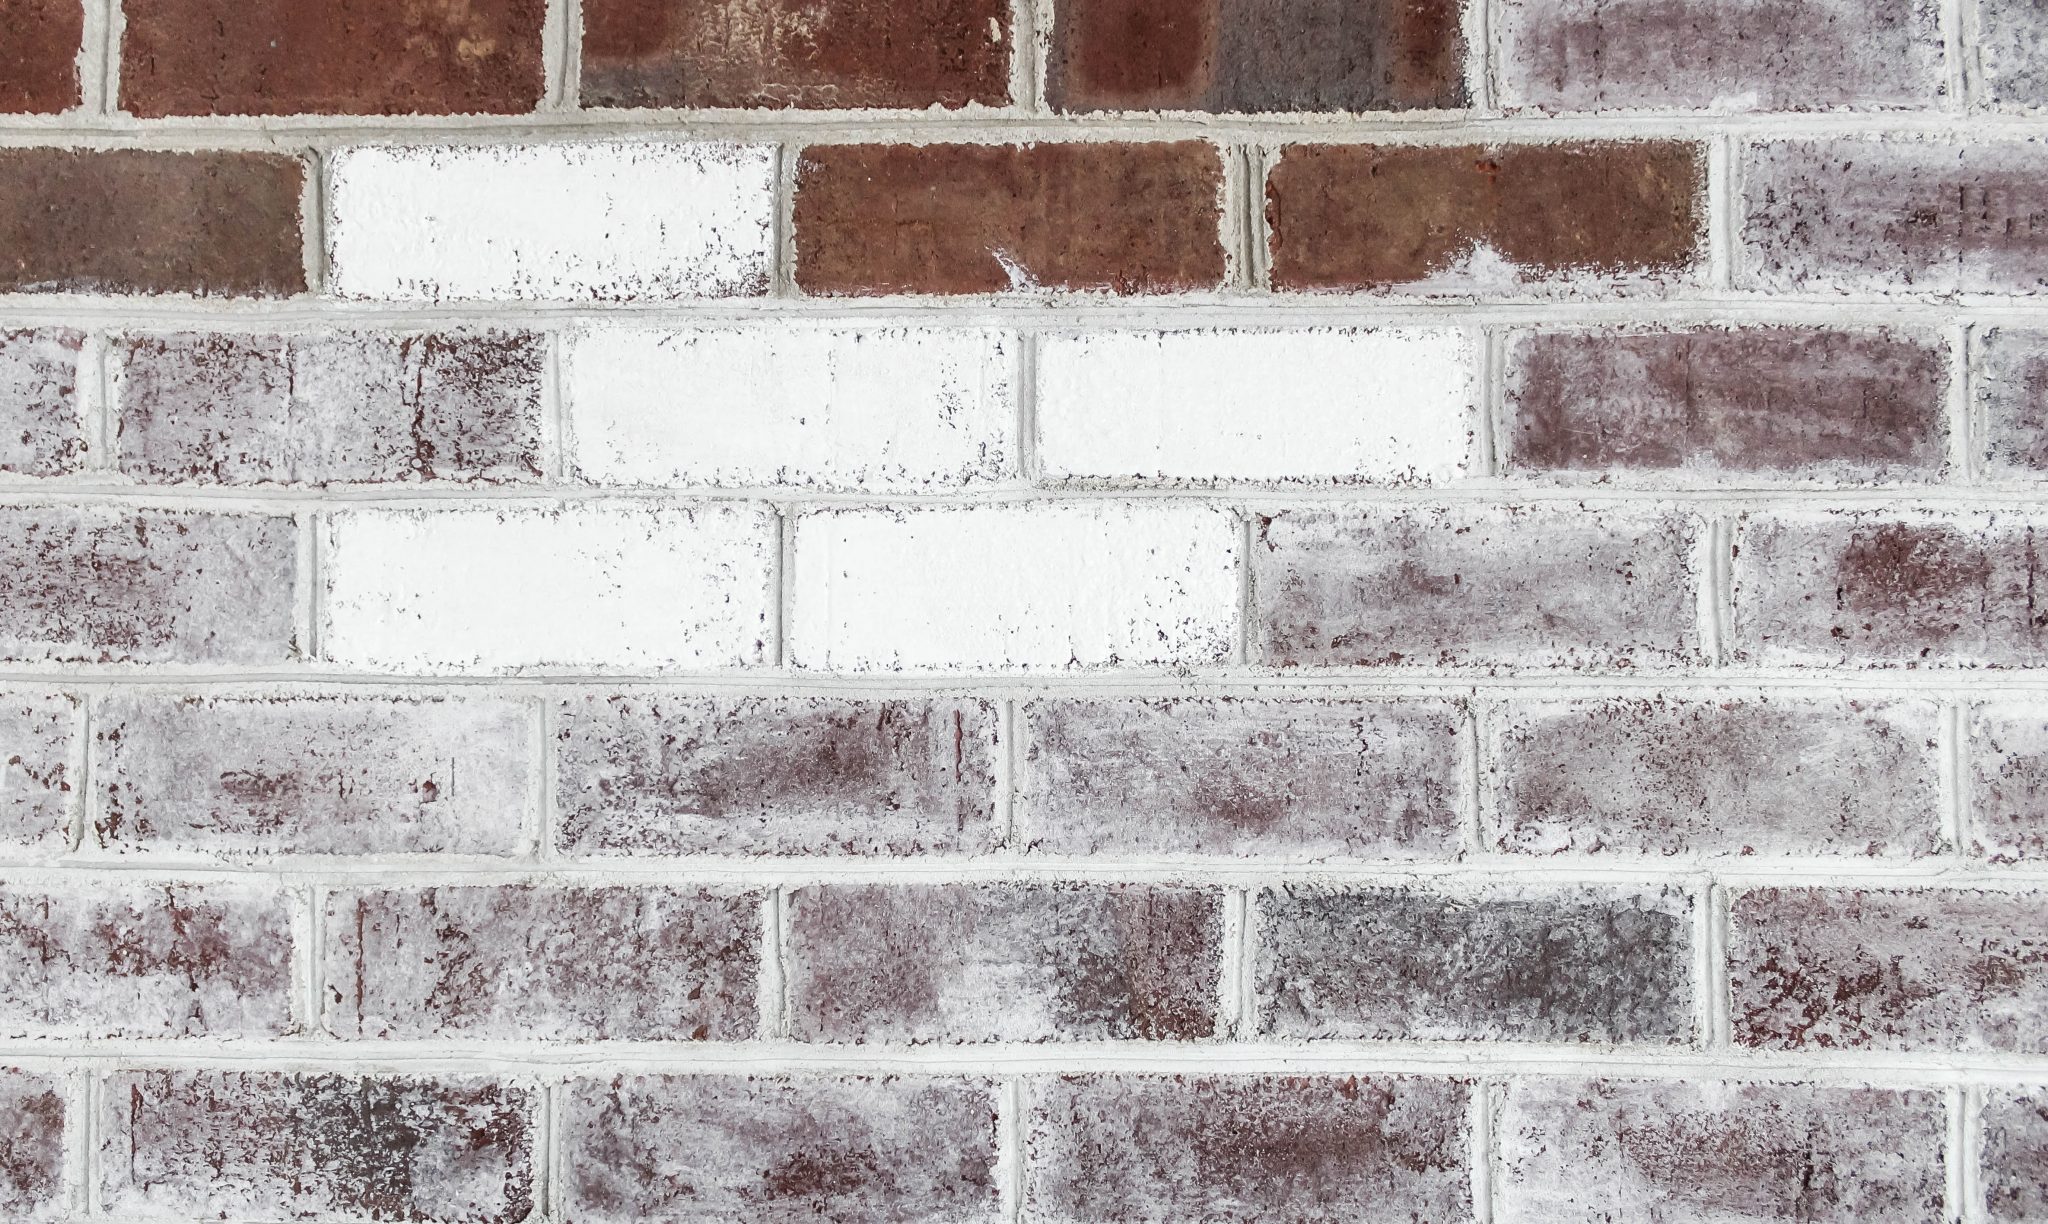
03. Further Washing Out the Grout Lines
As I was doing this, I was constantly stepping back to look at the progress and making small adjustments based on what I saw. One of those adjustments was lightening up the grout lines even further. I had already done a single coat of 50/50 (1:1 ratio) wash on them, but it was looking sort of “dirty” next to these whiter/painted bricks.
Method: 1:1 grout wash vs. 2:1 grout wash
As you can see in the photo above, there is a big difference between the grout pictured in the first two brick rows, and the grout pictured in the second two. I ended up remixing a wash with a 2/1 paint to water ratio and recoated the grout. Much better!
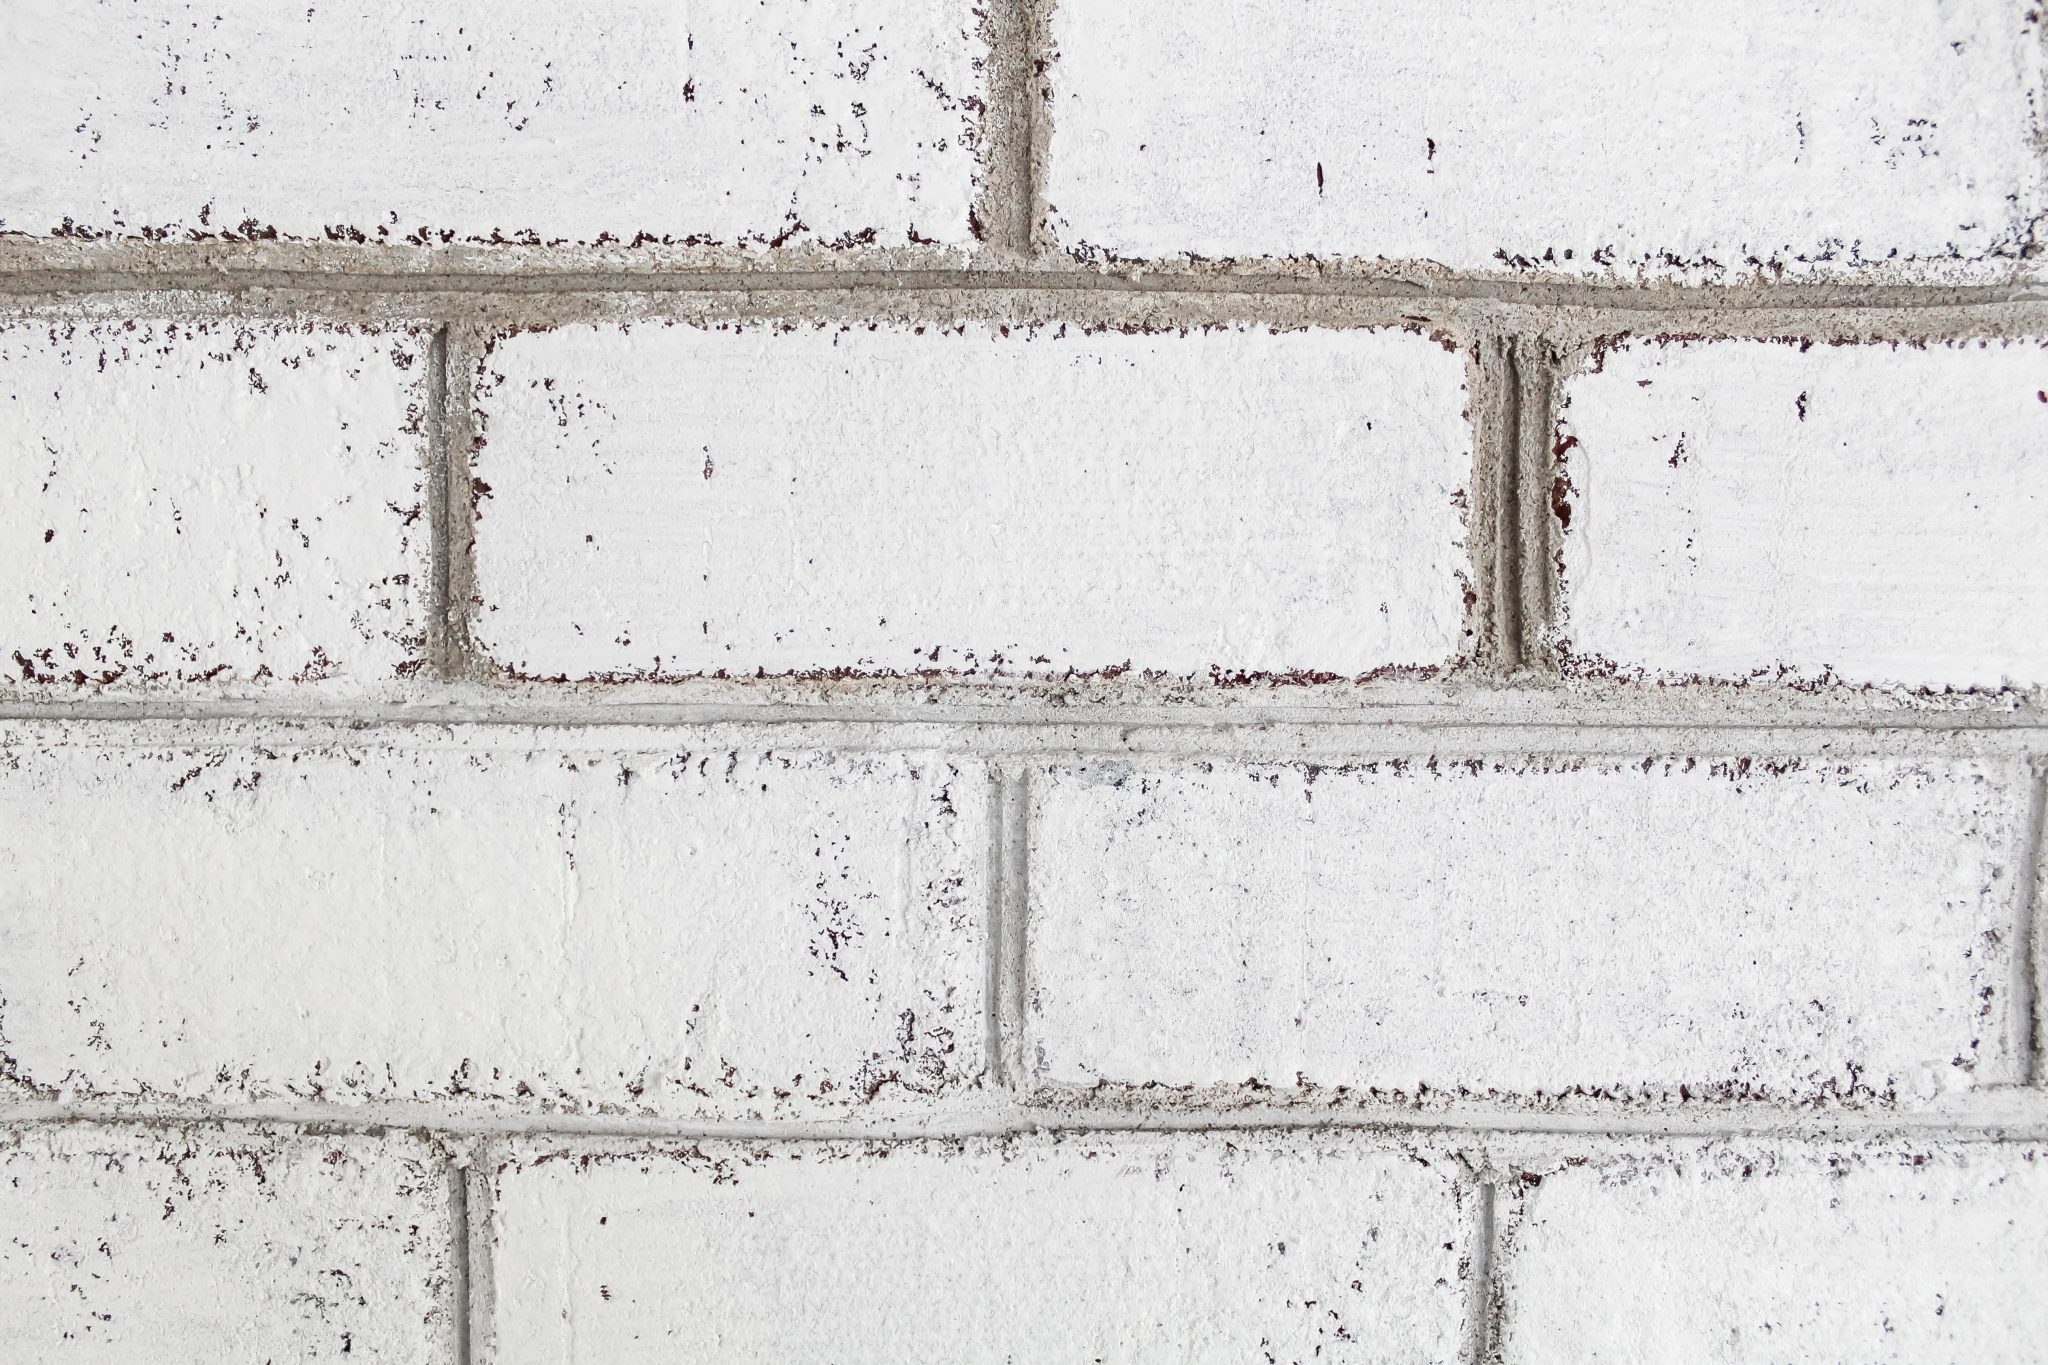
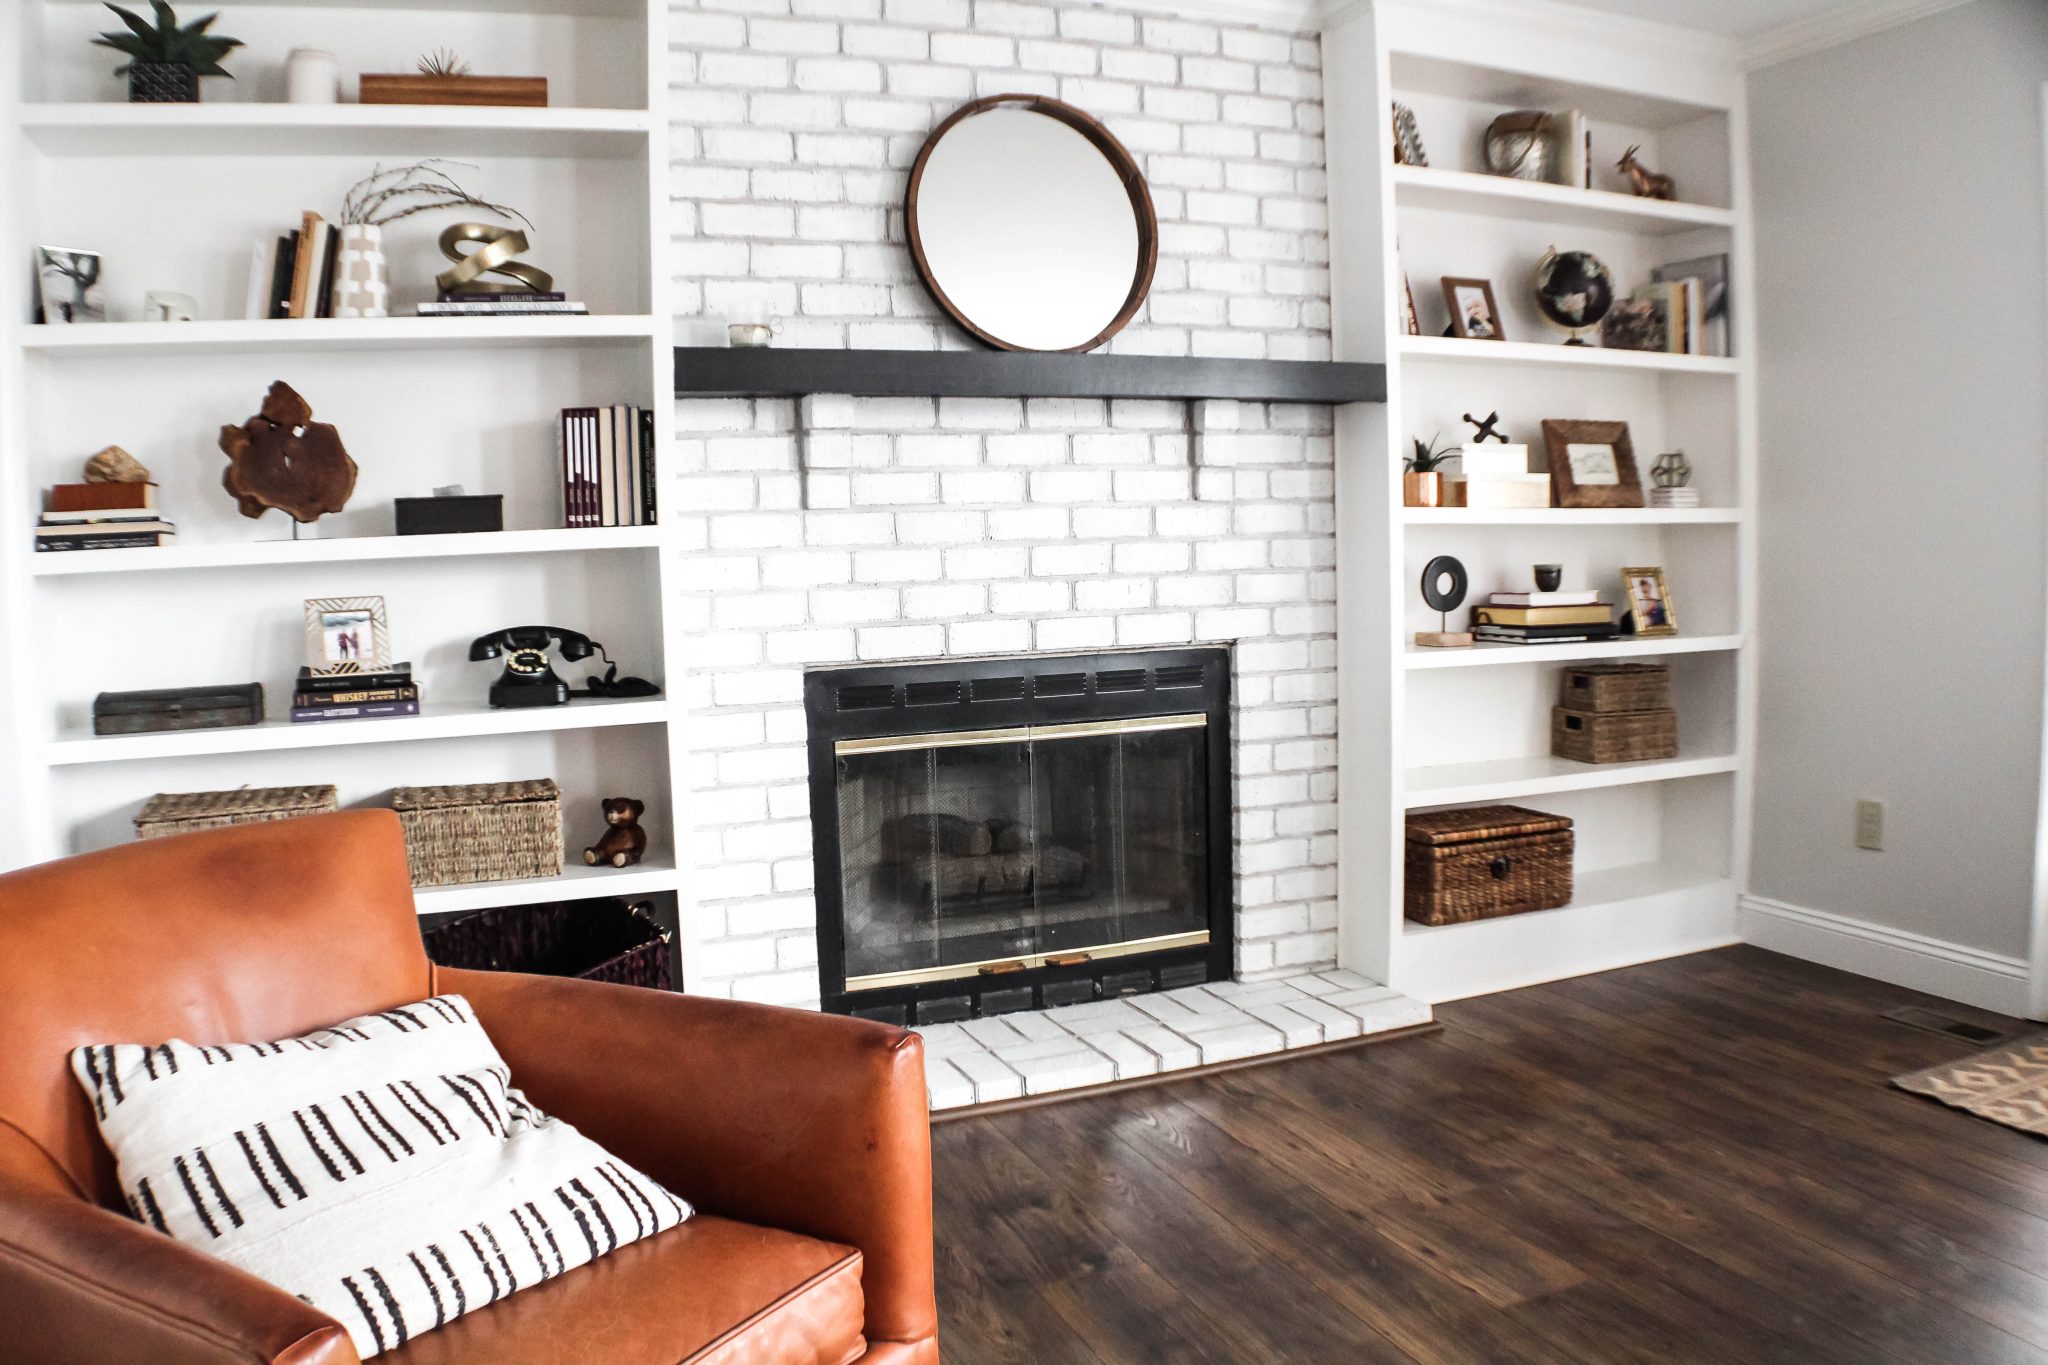
Results
Yassssss. This is what I wanted. Perfection! I was really happy with the final result. We get compliments and questions on it all the time! It’s a bit different from a lot of the white fireplace methods and before/after photos you’ll see on Pinterest etc., but it works for us and our space and was super cheap and easy to do!

After: Rough Painted Brick Fireplace

After: Rough Painted Brick Fireplace
Conclusion
There are a lot of methods for transforming an old, tired, outdated looking fireplace to white, but I highly recommend trying one (or two or three) if you’re considering!
Do your research. Look at lots of photos and tutorials and try to narrow down your style and your vision. Knowing the look of what I wanted really helped me transition into new methods confidently when things weren’t looking right.
The final step for this project was to paint the mantle black. Yum. I love this space and the way it’s all come together! What are your thoughts? Leave us some comments below!
After: Rough Painting red fireplace brick to white
tools used:
Cost Breakdown
We had all of these tools and the paint on hand – so this project actually cost un NOTHING! But here are some sample costs based on buying what you need:
Small Paintbrush* $1.00
Large Paintbrush* $3.00
Quart of Paint $15.00 (check your basement!)
TOTAL: $19.00
*The supplies I linked in this article are to products on Amazon…and I do actually buy these cheap-o brushes in bulk because they are great for sooooo many projects and if they get dried out etc you can throw them away and not care. However, your local hardware store will sell individual brushes for a couple of bucks, so you may want to go that route.
 We are a couple of DIY-ers who
Looks terrific Chris! I’ll enjoy seeing all else you do.
Thanks Lisa! I have soooo many project photos on my camera…just a matter of squeezing in the time to get them up. Trying to be better about it, but #lifehappens haha
Just what I am looking for. Thank you for sharing. Would you be able to provide the paint brand you used please.
I believe it was a Valspar base, but it was a “color match” to our existing trim.
Thank you very much!